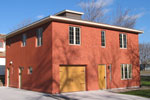

Frost Protected Shallow Foundation
In cold climates, where the ground freezes in the winter, it is important to protect the foundation from the forces of frost heaves. One option is the traditional basement. The basement walls and footings penatrate below the maximum freeze depth, allowing warmth from the ground to prevent damaging freezing of the soil in contact with the foundation. Stem walls (typically four feet high) enclosing a crawl space under the building, provide the same protection against freezing, minus the storage space of the basement. Then again if you don't need the storage space of a basement, why go to the expense of building half a basement with stem walls when a slab on grade works equally well?
The key is to protect the slab from freezing by isolating the slab from the surrounding froozen ground with rigid insulation. In this building we used Extruded Polystyrene Insulation with a compresive strength of 40 pounds per square inch. There are several manufactures, so check with your building supply store for availability.
(Note: If the building is not going to be heated (such as in an unheated garage), then it is ok to allow the ground to freeze solid under the builiding.)
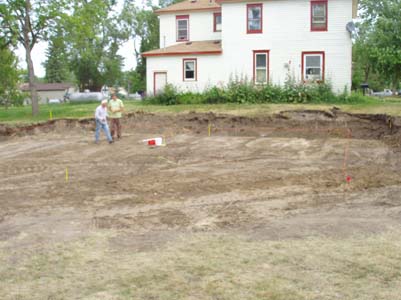 |
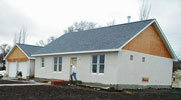
The previous building has been demolished and the ground has been packed and graded level. The corners of the building are temporarily marked with string lines. |
 |
Marking corners and bringing the water line in. |
 |
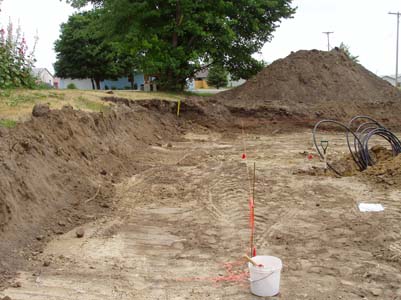
Digging in the water line. |
 |
Digging in the water line. |
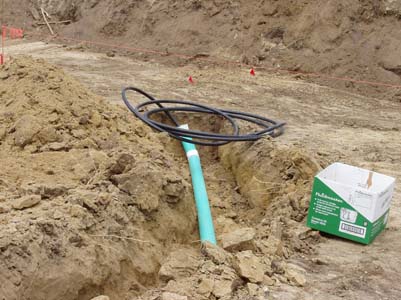 |
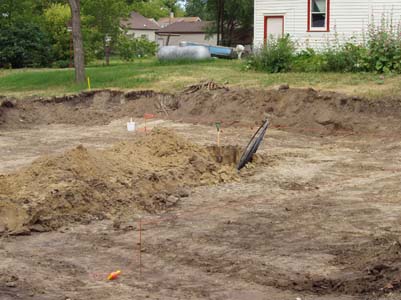
A 3-1/2 inch PCV pipe is used as a conduit sleeve for the main water line. The conduit will facilitate replacing the water line if there is ever a break, without needing to dig up the concrete slab. |
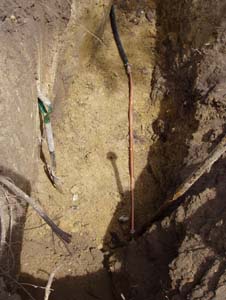 |
The water main at the street first connects to a section of copper pipe, and then connects to the plastic water line. |
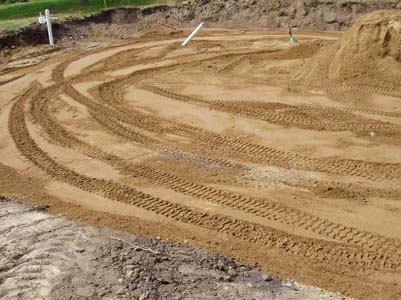 |
Gravel is spread on the site and packed. |
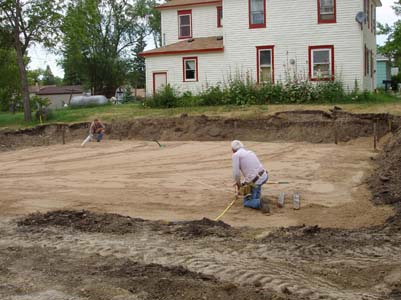 |
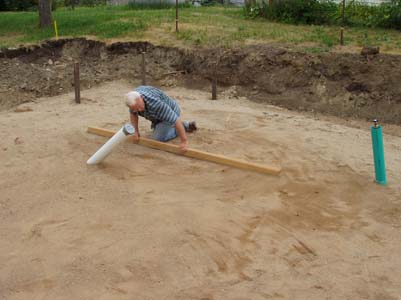
The building corners are again marked and measured with string lines. |
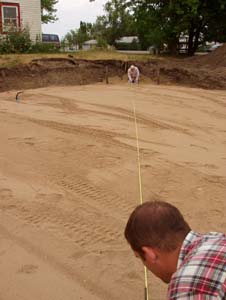 |
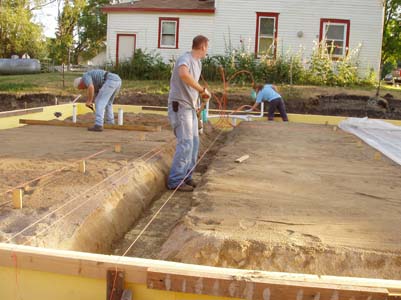
Using a long tape measure to check the squareness of the corner stakes. The distance between opposite corners must be equal, and parallel sides must be equal for the foundation to be a rectangle. |
 |
A long straight 2x4 board works well for fine tune leveling of the gravel. |
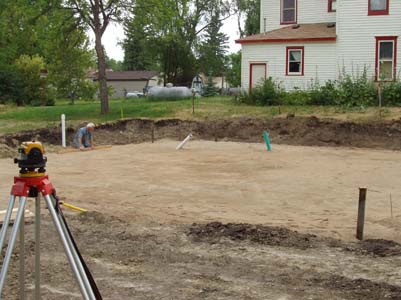 |
The builders level pictured here on the left is used to check for levelness across the whole building area. |
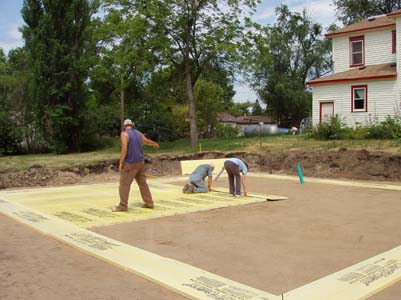 |
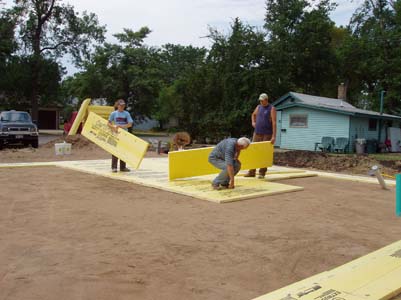
Laying the two inch thick extruded polystyrene insulating board. |
 |
|
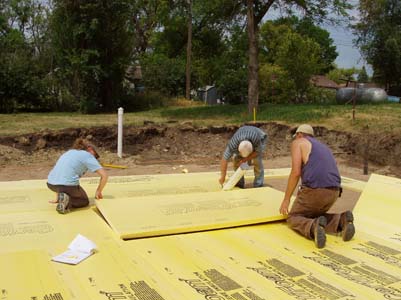 |
Fitting the insulation around the sewer drain pipe. |
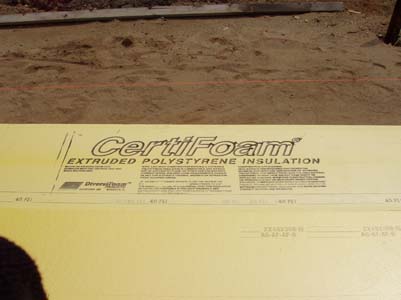 |
There are several brands of Extruded Polystrene Insulation (EPI). We used two inch thick EPI with a compressive strength of 40 psi. It has an R-value of ? |
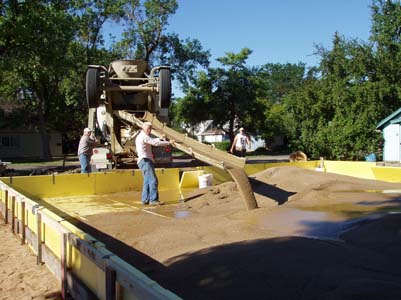 |
Washed sand is delivered slightly wet with a cement truck so that the sand will flow and pack in place. |
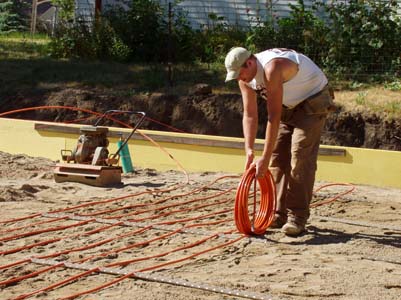 |
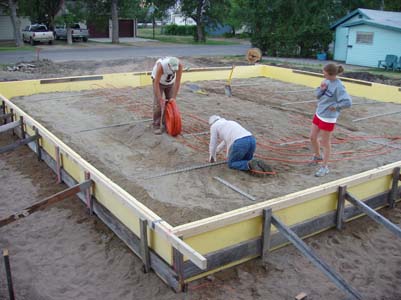
PEX tubing for the underfloor heating system is installed in the middle of the 16 inch thick sand bed. |
 |
|
 |
The plumbing for all the drains must be installed in the sand bed to match the finished slab height. |
 |
All of the PEX tubing is covered now. Plastic sheeting is laid on the sand bed to prevent moisture from moving into the concrete slab. |
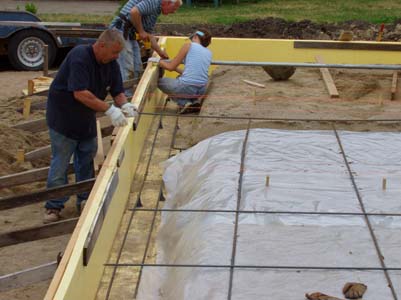 |
Rebar (or bent rod) is tied together inplace. |
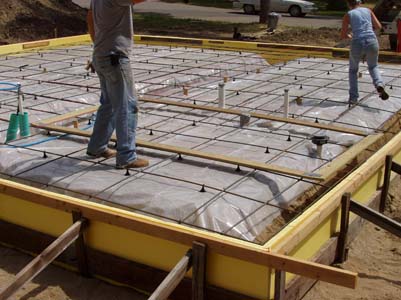 |
The square wooden area here marks where the bathroom floor slab will be depressed so that water will run to the floor drain, and for floor tile. |
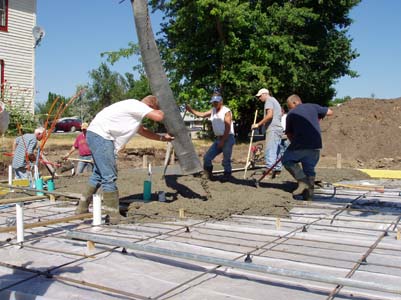 |
Concrete is poured with a pumper truck to reduce the physical labor of moving the concrete and to minimize impacts of displacing the rebar. |
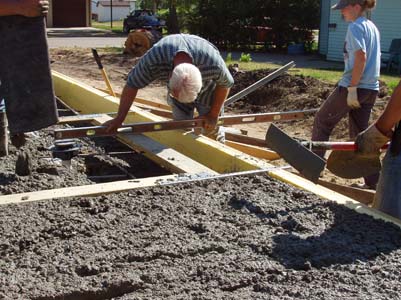 |
Checking the elevation of bathroom floor relative to the perimeter and the floor drain. |
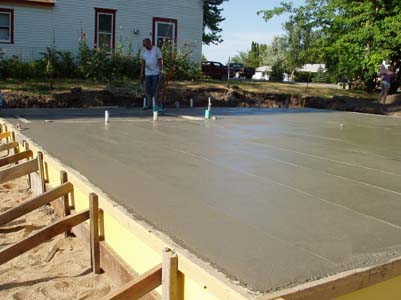 |
The finished, still wet concrete slab. |
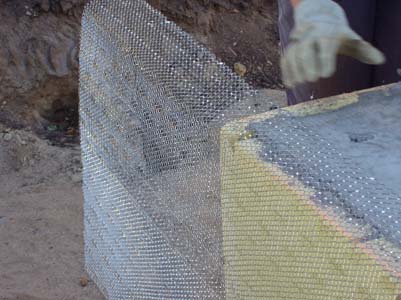 |
Metal lathe is attached to the concrete slab after the supporting forms from the pour are removed. Stucco will be applied to the lathe to protect the EPI insulation. Without the stucco the EPI insulation would decompose in the sun. |
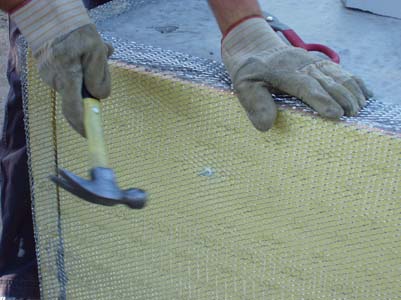 |
Fasteners are pounded into the concrete. The lathe is folded over the top of the slab and will be encorporated into the mortar bed for the first row of AAC block. |
 |
Rebar is drilled and expoxyed into the concrete slab. These are required for vertical reinforcement and to tie down the roof. |
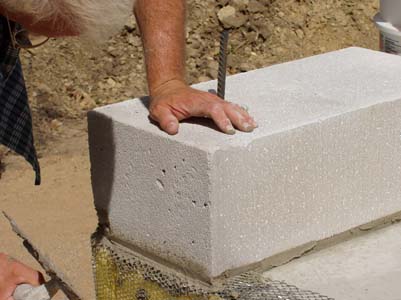 |
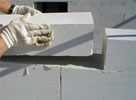
The corner block of AAC is laid on the metal lathe and half inch leveling bed of mortar. |
Follow this link to pictures showing how to lay AAC block. Next > >