
Insulating Old Houses
Four reasons why you should consider insultating from the inside, not the outside, of exterior walls in an old house.
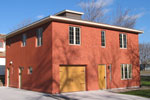
1. The exterior siding
Often the exterior of the building is in reasonable condition and is aesthetically pleasing. The siding may be old growth cedar which can be reclaimed and, with proper vapor barriers placed on the new inside wall, will last many more years.
2. Need to rewire and plumb
A 50 to 100 year old house probably is ready to have all wiring and plumbing removed for safety and maintenance reasons. When the house is sold or the occupants are inclined to move out, this is the ideal time to “gut” the house of everything down to the studs, including masonry chimneys, any furnace with its ductwork, all wiring, all plumbing, and recycling all of these bricks and metal. There may be old cisterns or coal cellars to recycle the old plaster to. If the inside studs are stripped, the floor plan can be modified somewhat. The hardwood floors can be sanded and refinished during the process. The key concept is to build a new perimeter wall inside the original wall. This new 2 by 4 wall can be separated an inch or so and studs off-set to provide a thermal break. After all new
wiring, plumbing, and window/door openings are aligned with the old openings, then the outside wall can be treated with the ‘blow-in-blanket’ insulation method which will give an R value of 34 for an 8 inch wall. The vapor barrier and sheetrock can be placed and the house finished with the original woodwork, which also can be stripped and refinished, if carefully removed and numbered on
the back side.
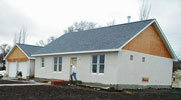
3. "New House" on the inside
The value of this approach is that truly a new house has been built inside the old house and the materials used have essentially replaced a new house being built in the distant suburbs, saving the cost of commuting, etc. The heating and cooling system can be much more limited—simple resistant baseboard or in-the-wall air to air heat pumps located in appropriate area. The cost of “gutting” is saved many times over by the ease carpenters, plumbers, and electricians can work in the “new” house. The loss of floor space is generally not noticed. The chance to open up the floor plan may give “extra” space.
4. Inproved basement
There is also the potential to jack up the house and tear out the old basement and place a new basement with a hydronic heating system under the new concrete floor. We have found that placing 2 inch extruded polystyrene under about 8 inches of sand and then the 4 inch concrete floor, adds a significant amount of mass to the building and can be the primary heating system in cold climates. This also can utilize “off-peak” and “demand-control” pricing mechanisms for significant savings. An alternative approach is to utilize the old basement if the old floor can be removed to give at least a 7 foot finished ceiling height with again 2 inches of polystyrene under the concrete new floor. The walls can be treated for water penetration, then 2 inches of polystyrene and a new 2 by 4 stud wall built again inside the perimeter basement to nicely finish the space for comfortable living. Simple baseboard heating will keep this basement warm. A proper drain system to sump pit can be done before the new floor is placed.
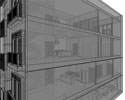
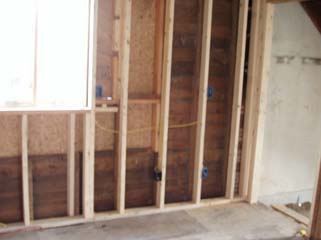 Here you can see the second row of new 2x4 studs inside of the exterior studs.
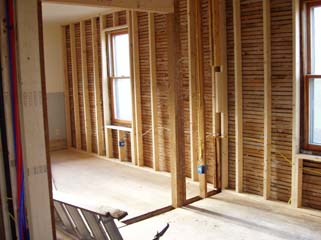 Here the new row of studs were added without removing the old lathe.
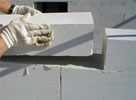
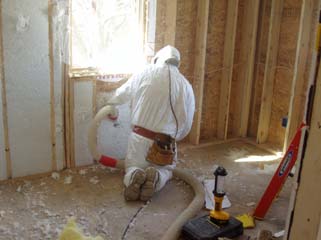 Blowing in the fiberglass insulation behind a layer of netting. Glue is mixed with the fiberglass as it is blown into the wall, which will prevent the insultation from settling over time.
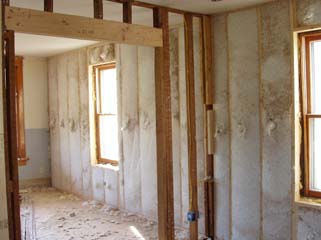 The finished insultated wall. Next a vapor barrier of plastic sheeting will be stapled to the studs and then the sheetrock will be installed, taped and painted.